
Our Family Bathroom – Before and After

If you’ve been following The House Project since January, you will have seen how far we’ve come with our total home renovation. You’ll also be aware that we’re on the final straight and can see the finishing line!
So I thought now would be a good time for our first Before and After post! Starting with our family bathroom before and after…
Family Bathroom – Before and After
Before
(click on images for larger view)
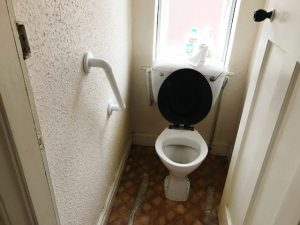
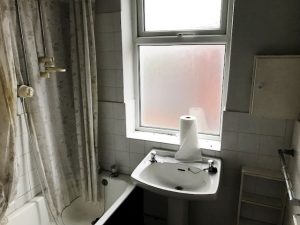
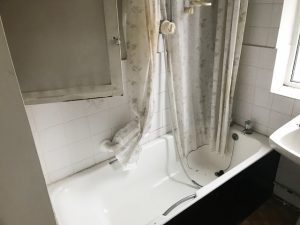
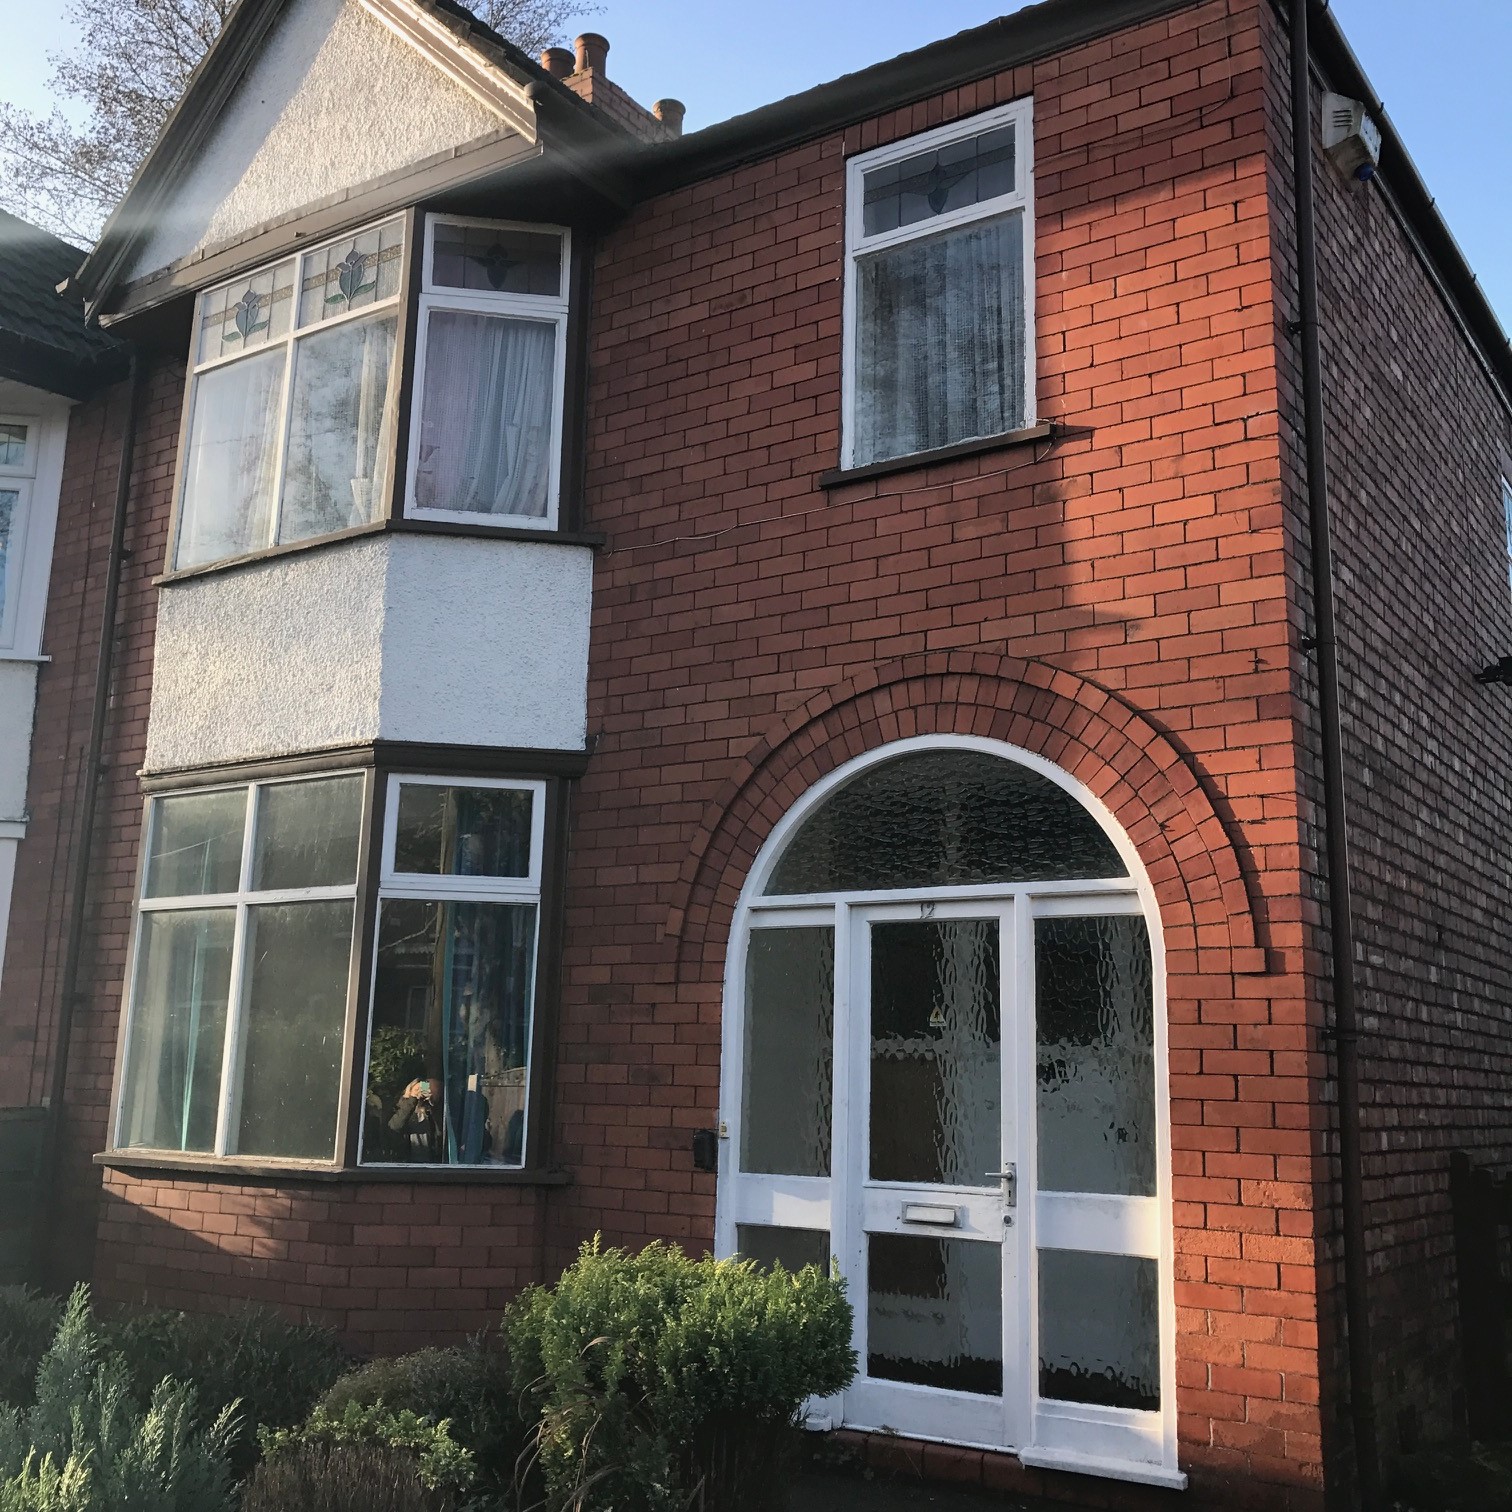
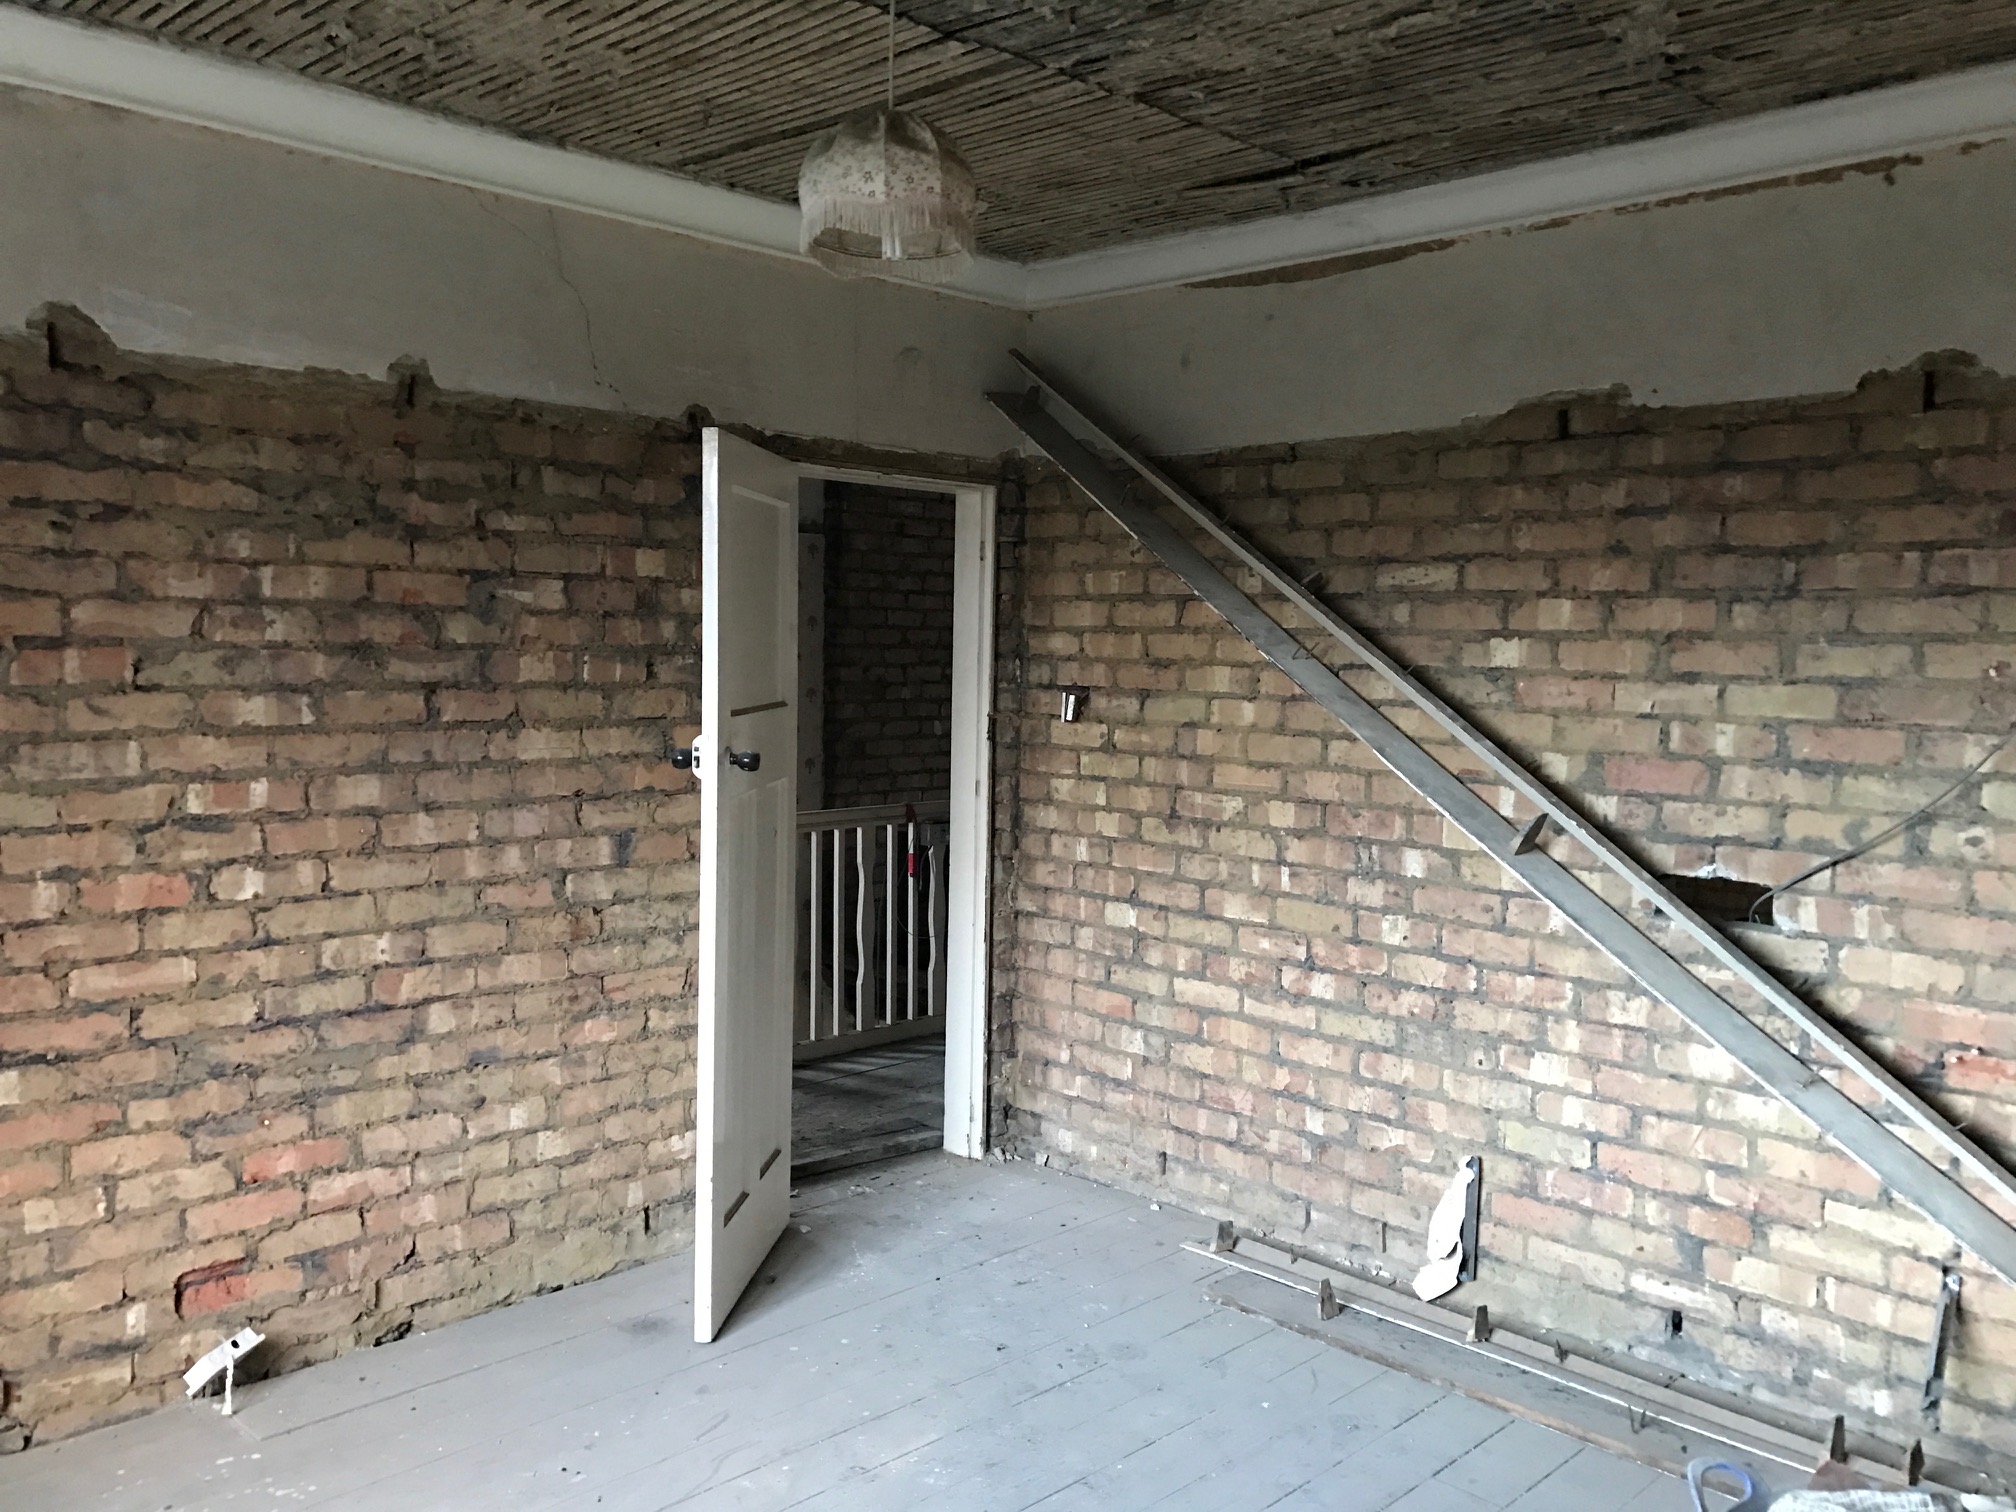
The original house layout had a family bathroom and separate WC located on the first floor, at the top of the stairs and off to the right. There was a small corridor with a door to the WC, which house only a toilet and a window. Then there was a door leading to a medium-sized bathroom with a boxed-in bath and sink and another window.
Nothing about the layout felt right or open and it all had a cramped feel.
One of the first things I said when looking round the house was, “that’d have to be knocked through”. It wasn’t difficult to see that the two separate rooms could be quite simply knocked together and the door could be brought to the front of the corridor and at the top of the stairs. This would leave us with a very decent sized family bathroom more suitable for modern-day-family-living.
So that was one of the first things we had drawn onto the plan.
During the build
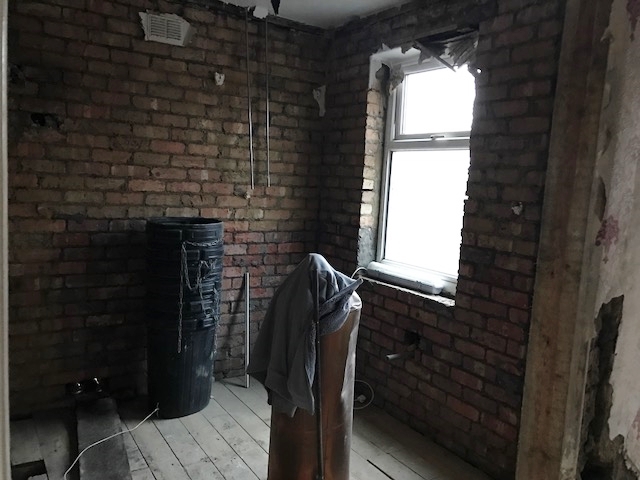
This was one of the first walls to be knocked down in our home renovation (and there were a lot of walls knocked down!) and it almost instantly turned into a new room. So we could walk in and feel the space after a matter of days.
We were left with the option of taking out the smaller window (originally in the WC) or leaving it there and of course we left it! The more natural light coming into a space, the better, I feel. So we were lucky to have a bathroom flooded with light from the offset.
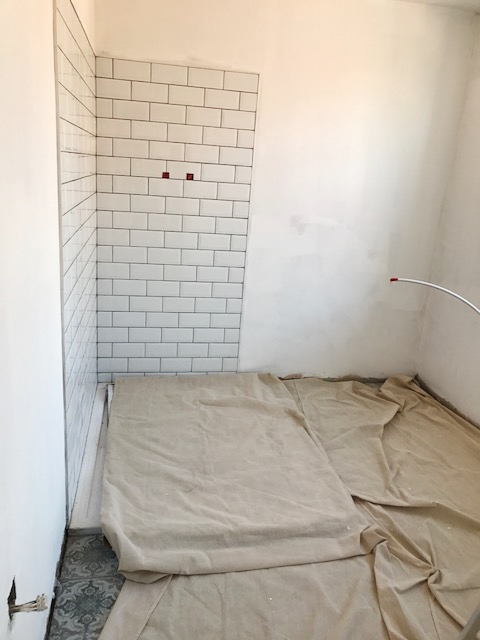
The next thing was deciding where everything should go, how it’d be plumbed in and the general layout of the bathroom.
I was adamant about having a separate bath and walk-in shower, so we worked the layout around those two things.
After
The Bath
Now, in our current house (the one we’re moving out of), I sourced the most AMAZING corner roll-top bath. It’s huge, it’s Victorian-looking and it wasn’t cheap. I love that bath. It fits all three of us in there and has been perfect for our little girl, with plenty of room for her to play and virtually swim in it!
BUT, budget dictated that buying this bath again might be a silly decision and being that we’re moving into a 1928 house, perhaps the Victorian-styled decor that we love, should be left behind. Boo!
So, off we went on a hunt for a bath that we’d love equally…just in a different way (I was practically sobbing).
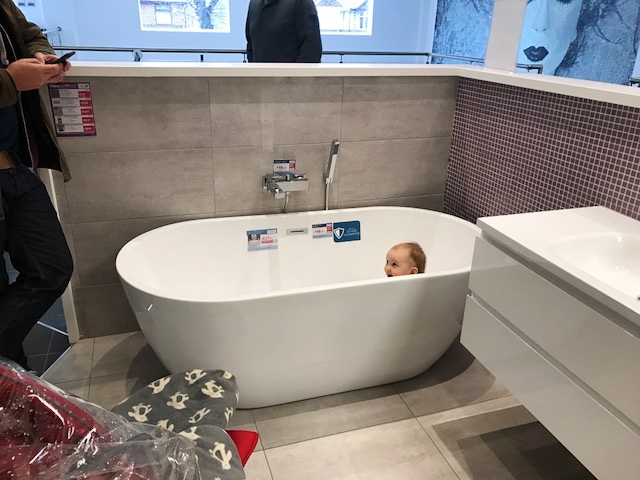
And we found this one from Better Bathrooms – Aluna Double Ended Freestanding Bath Tub.
I wanted a free-standing bath that we could share a bath together in…tick. I wanted a bath that was deep and spacious for the little one to crawl around in…tick. I loved the simplicity of the Aluna and when we climbed-in, we realised that it was deceptively large and we could still enjoy our family baths together. And it was less than half the price of my beloved roll-top.
So the decision was made…the style of the new bathroom would be totally different…more modern, perhaps more zen…but still with character!
The Results
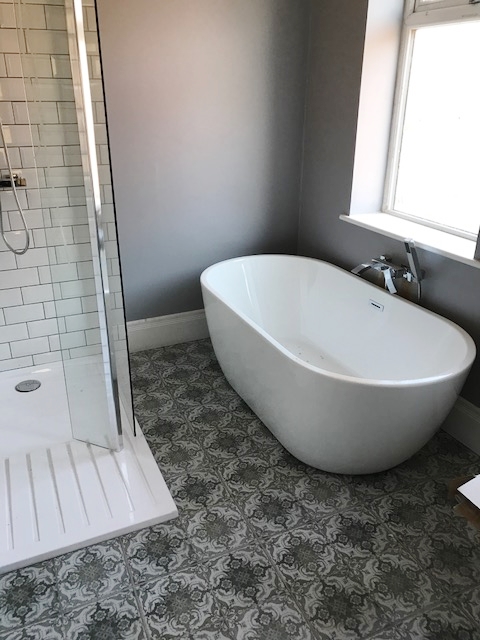
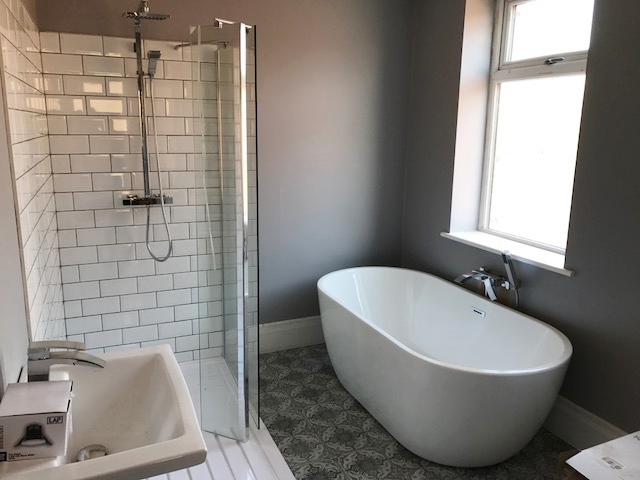
It took a while for the bath to actually be put in situ…weeks in fact. As the plumbing, plastering, tiling and grouting had to be taken care of first, naturally. Then we painted and the other bits went in. Last but not least, in went the bath and we’re really pleased with the results.
We now have a very decent-sized walk-in shower, separate large bath, modern toilet and freestanding sink – and soon to go in, is an electric chrom towel rail on the wall.
The Finishing Touches
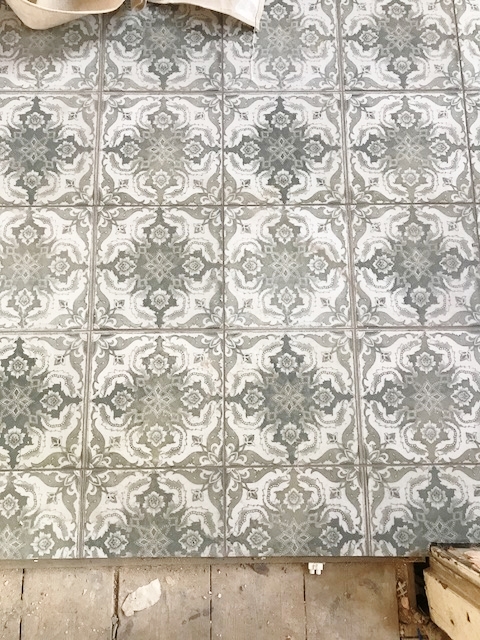
I’m in love with our choice of tiles and the grey paint colour on the walls. The fictures are chrome and the whole feel is quite modern. As we like to mix the old with the new and keep things feeling eclectic, I think I’m going to source a small wooden stool to have in here. Something a bit battered but sturdy. It’ll give somewhere for us to sit when we’re bathing the little one and somewhere for her to sit and get dressed as she gets older.
I may also introduce something else free-standing, as long as it doesn’t eat into the room yet – or perhaps a few floating shelves for storage. Again, I’d go more rustic or wooden with these I think, to counter-balance and add a different texture.